
1
Gravity Sketch for Youth Work
Gravity Sketch for Youth Work
Inhalt
This activity will guide you through your first steps in using Gravity Sketch (GS) – one of the most exciting tools for creativity, collaboration, and digital skills development in Virtual Reality (VR).
Gravity Sketch is ideal for youth work because:
- It empowers young people to create 3D models, sketches, and worlds intuitively.
- It fosters creative thinking, design skills, and digital collaboration.
- It allows easy exporting of creations for further use in projects, presentations, or real-world fabrication (e.g., 3D printing).
- It supports teamwork: multiple users can create and design together in real-time in shared VR spaces.
Setting Up for Your First Session
We will primarily reference Meta Quest 2 and Quest 3 & 3s headsets.
However, if you use another headset, you need to check your manufacturer's info and/or help centre if needed.
1. Installing Gravity Sketch
- Put on your headset and open the Meta Quest Store.
- Search for "Gravity Sketch" (the app is free to download).
- Install the app.
Note: Make sure your headset is connected to Wi-Fi and has enough storage space.
2. Setting Up a Free Gravity Sketch Account
- Open Gravity Sketch in VR.
- Follow the on-screen prompts to create an Account.
- Alternatively, you can create an account on a browser before entering VR via Landing Pad website.
- Use an accessible email address for youth work or organisational use.
Landing Pad is Gravity Sketch’s web platform where you can:
- Manage your creations (upload, download, and organise).
- Export files for 3D printing, digital portfolios, or presentations.
- Set up collaborative rooms and projects.
- Sign up free at: https://landingpad.me/
3. Familiarising Yourself with the VR Controls
- Controllers are used to grab, draw, move, and edit objects.
- You can teleport to move around the virtual space.
- Use the "Create" menu to choose drawing tools, shapes, or primitives.
Key Tip: Always wear your controller wrist straps during creative sessions to avoid accidental drops or collisions.
Expert Tips for Your First Gravity Sketch Session
- Adjust Your Headset for Comfort:
- Tighten the head straps until the headset feels secure but not tight.
- Adjust the interpupillary distance (IPD) for clear vision.
- Use a VR facial spacer if wearing glasses.
Health and Safety:
- Set up a clear VR play area – free of furniture, wires, and obstacles.
- Remind participants to take regular breaks (at least 15 minutes every 30 minutes).
- Watch for signs of motion sickness, and stop immediately if any discomfort occurs.
- Supervise young people closely and align activities with safeguarding guidelines.
- Keep headsets clean, sanitising between users if the same device is shared.
Useful Accessories for Comfort:
Optional: Consider upgrading to more ergonomic straps or external battery packs for longer sessions (BoboVR or Kiwi Design recommended).
First Steps in Gravity Sketch
Beginner Activity:
- Launch Gravity Sketch.
- Enter an empty scene.
- Choose the pencil tool and try drawing a freehand 3D line.
- Practice creating basic shapes: spheres, cubes, cylinders.
- Experiment with scaling objects bigger or smaller.
- Duplicate an object by grabbing and pressing the duplicate button.
Collaboration Feature:
- Invite a partner into your workspace by setting up a collaborative session through Landing Pad.
- Multiple users can draw and design in the same VR environment at once.
Exporting Work:
- Open the Gravity Sketch "Export" menu.
- Choose file type (e.g., OBJ, FBX) and export to Landing Pad.
- From your Landing Pad dashboard, you can download and share creations easily.
Export to Sketchfab: You can also connect your Gravity Sketch account to your Sketchfab account and upload models directly to Sketchfab for public display, embedding in websites, or 3D portfolio building. This is a powerful way to professionally showcase youth creations to wider audiences.
(Note: You will need to link your Sketchfab account under the Landing Pad integrations settings.)
Recommended Tutorials
Getting Started with Gravity Sketch:
Landing Pad Overview (Account Management and Collaboration):
Landing Pad Overview
Final Thoughts
Gravity Sketch opens a powerful new door for digital creativity in youth work.
It is accessible, intuitive, and promotes skills that are highly relevant in today’s digital and design sectors.
Through Gravity Sketch, young people can build confidence in 3D creation, teamwork, storytelling, and innovation — all within a fun and safe VR environment.
"Creativity is intelligence having fun." – Albert Einstein
Let’s build the future together, one sketch at a time!
***
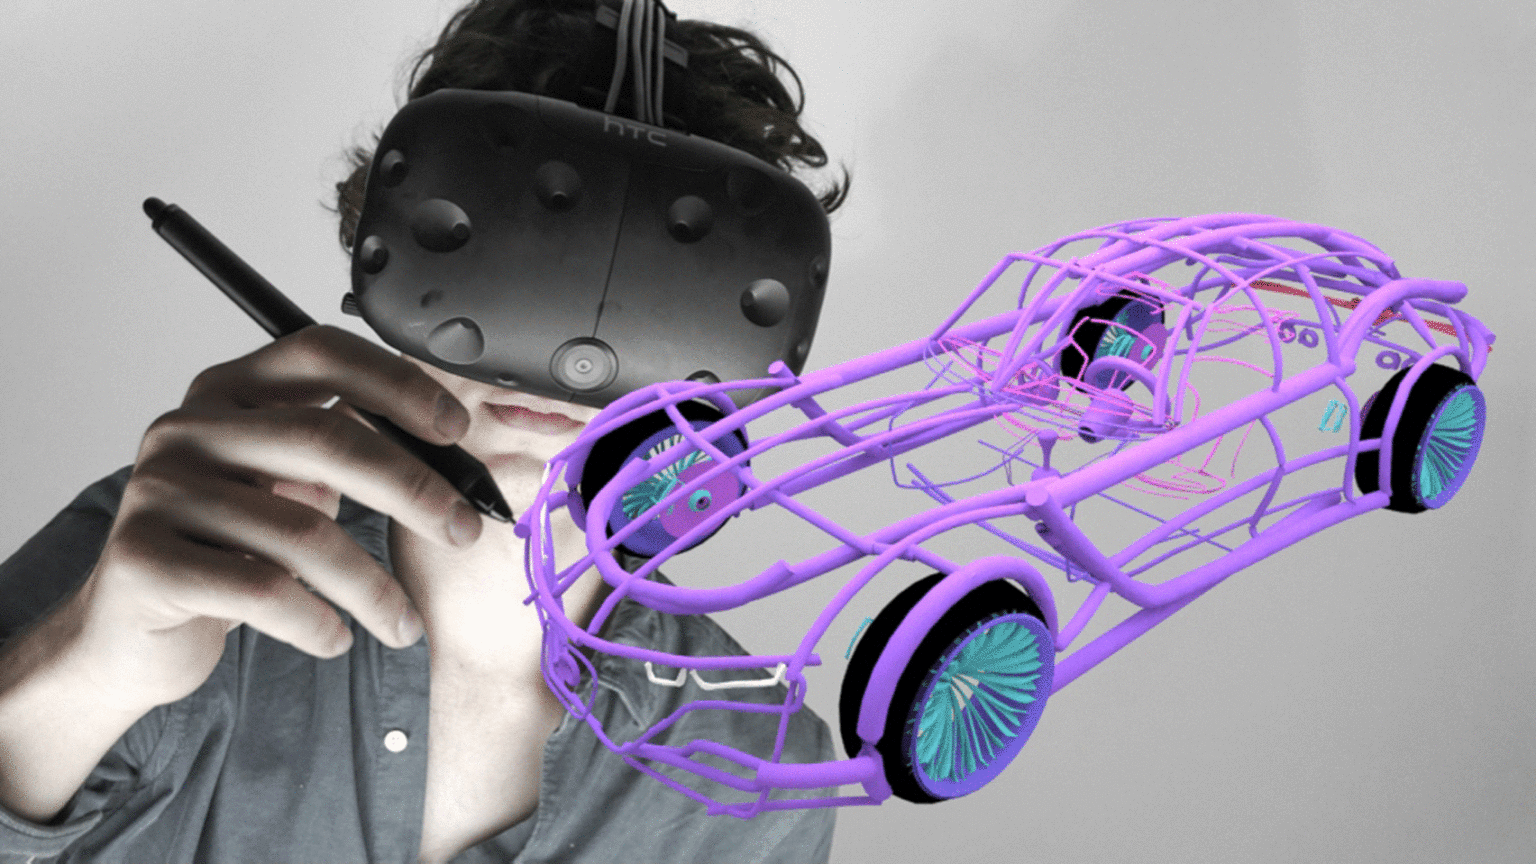
Cover image source: Geo Week News; Gravity Sketch blog
***
The Cities of Learning partners created this step-by-step guide during the Erasmus+ co-funded cooperation partnership “Virtual Reality in Cities of Learning”. Connect with involved partners for collaboration:
Madiba Società Cooperativa Sociale, Italy - the lead partner
Awero, Lithuania
CODEC, Belgium
SIRA Impact Hub, Cyprus
Breakthrough Foundation, the Netherlands
Think Forward, United Kingdom

Erhalte einen Badge für diese Aktivität
Gravity Sketch Creator Erhalte diesen Badge
This badge recognises the earner’s successful first experience with Gravity Sketch in Virtual Reality. The earner explored 3D design tools, created basic virtual objects, and learned how to collaborate in shared digital spaces. Through this experience, they demonstrated creativity, spatial awareness, and the ability to use immersive technology for design and teamwork. This badge highlights a commitment to safe and effective digital making, preparing the earner for future learning and creative projects in VR.
The Cities of Learning partners issued this badge as part of the Erasmus+ co-funded “Virtual Reality in Cities of Learning” cooperation partnership.
Aufgaben
Aufgabe Nr. 1
Augestellt durch die Organisatoren oder mittels QR Code
Submit a short reflection (written or audio) including:
- What did you create in your first Gravity Sketch session?
- How did you find using the VR tools for drawing and building?
- If you worked with someone else, how did you collaborate in the same space?
- What would you like to design or improve next time?
Ausführende Organisation
Cities of Learning Network
Badge issuer recognized with

Badgecraft betreibt diese Plattform und entwickelt sie zusammen mit Organisationen aus dem Bildungsbereich. Das EU Programm ERASMUS+ hat eine Ko-Finanzierung für die Entwicklung der ersten Version dieser Plattform gewährt. Kontakt support@badgecraft.eu.
Andere Sprache auswählen: